Labels

Gundam (2) Decal (1) Runner (1) Stickers (1)

April 29, 2010

Runner Problem? Make it NO PROBLEM

A runner is the tiny plastic bit which holds the plastic part. It connects the plastic parts to the frame. Trust me, they sound helpful, but they are a real bitch! The biggest problem with runners is once you've cut the plastic pieces out, it's almost impossible to hide the cut marks. Makes me wonder why Bandai can't produce plastic models without those troublesome runners. My first thought was it is part of their business strategy to sort of 'make' the consumers buy the cutters, knives, files and sandpaper. Still, who knows. Then again, without the runners, building Gundam models would be really boring.

There are a few methods to hide the runner marks after cutting but it is not easy. Most modelers sand paper it down and paint the plastic. Me, I cut them with my plastic cutter, a Tamiya's Modeler's Side Cutter, then carefully and slowly, I mean REALLY slowly, cut it it down to the desired level with a penknife (any penknife will do but some claimed that the knives by Tamiya are thinner and better). Always leave a bit of the runner with the side cutter. The remaining bit should be cut down by a knife instrument. Side cutter don't cut as clean as a knife. I usually get a close to perfect cut but there are times where the plastic turns white. When this happens, I scratch them with my fingernails and they do sort of turn back to their original color. This works sometimes but not all thetime. Kinda like magic.

A pic of the bitchy runners


Cutting the runner with a Tamiya side cutter
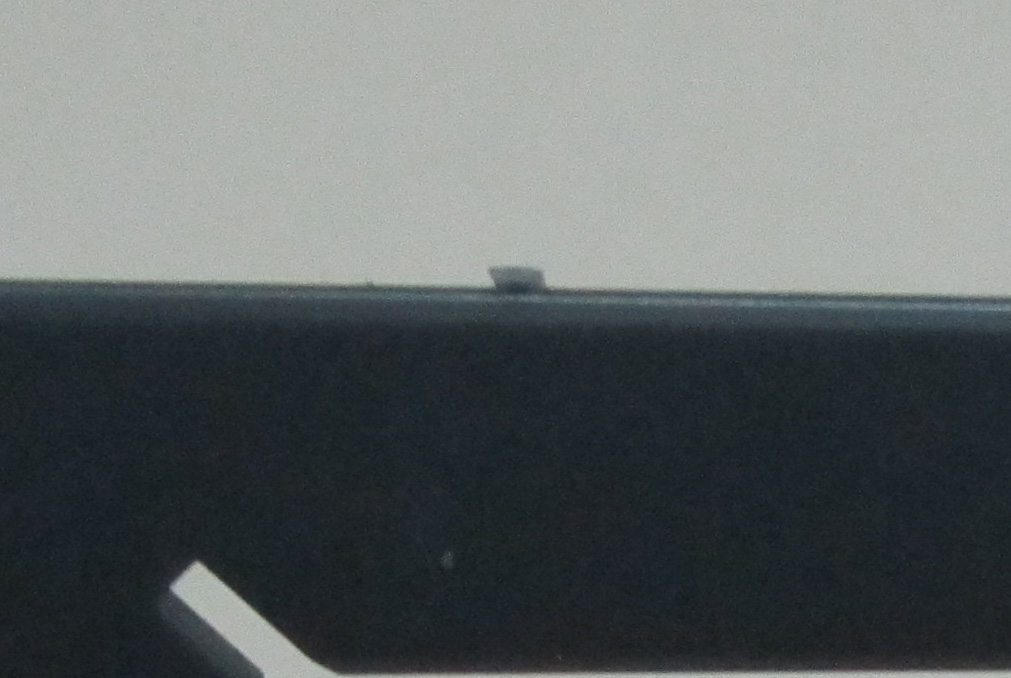

After the cut


After cutting it down with a penknife

That's all for now. Okuk onak Dayak.

April 28, 2010

Decals and stickers

Decals and stickers are optional for Gundam modeler. It is all up to the modeler whether to put them on or not. As for me, I prefer them on my kits. Makes them look more 'complete' but there are cases where I have no choice but to not put them on and that was when I accidentally destroyed a decal. My MG Exia Ignition Mode's was my very first victim, so sorry!

Between decals and stickers, I prefer decals, mainly because they blend in better into the plastic models. They blend even more with help from Mr. Mark Setter and Mr. Mark Softer (this is true for wet transfer, not sure about dry transfer). I forgot to mention earlier, there are two types of decals, dry transfer and wet transfer. I have no idea how to use the wet transfer because I only use decals and stickers which comes together with the kit and they only provide dry transfer decals and stickers in the box. Wet transfer decals are not included in the box. You'll have to buy them.

Stickers are better in the sense that they are re-stick-able and they are not easily damaged or destroyed. Only one cons with stickers, they are very visible despite cutting the transparent edges. I wonder if I can melt the sides with fire? Maybe one day, I'll test it out.

Overall, I prefer dry transfer decals maybe because I've never used wet transfer but still, it is way aesthetically acceptable than stickers. I too, don't like to waste money on d
ecals. Like I said before, I just use whatever is included in the box.

Here is how I apply my dry transfer decals.
The very first thing to do is to cut the decal out. Cut as small as possible but leave at least 2.0 - 3.0 mm at the sides because if it's too narrow, the decal will just drop off from the transfer sheet holding it. This is how I destroyed my MG Exia Ignition Mode decal. The decal was really small, one of the smallest I've ever worked with, and I cut the sides to close to the decal itself.


Next, cut out an appropriate size cellophane tape and stick the non-sticking surface of the decal onto the tape. Make sure it is the non-sticking surface of the decal. If its the sticking surface, considered your decal destroyed. Some modeler uses masking tape but I prefer cellophane tape because they come transparent. Not sure whether masking tape come in transparent or not. The transparent nature helps in positioning the decal. This is very important because once the decal is applied, there's not turning back. So make sure that it is at the desired position before setting it onto the plastic surface.

Once the decal is secured onto the desired position, scratch the cellophane tape like crazy! This is to make sure the decal sticks completely onto the plastic model. For bigger size decal, I usually put water on the sticking surface of the decal before positioning it. I find it easier to remove the decal transfer sheet. I discovered this when I did a mistake of soaking a dry transfer decal in water. I was new that time and I thought that the dry transfer decal were wet transfer. Soaking them might makes it easier too but I don't know, maybe. To be a good modeler, you learn from mistakes, trial and error.

The most important step in applying dry transfer decal is removing the transfer sheet. Remove it slowly and cautiously. If the decal were to tear during the process of removing the transfer sheet, secure it back to the plastic model and scratch the cellophane tape some more. This is when the water applied onto the sticking surface of the decal comes in handy. It makes the decal separate easier from the transfer sheet.

Here are pictures of my finished dry transfer decal work and a close-up.


For wet transfer decal, the sales person at a shop here in Berjaya Times Square, Kuala Lumpur said that Mr. Mark Setter is to be applied before and after applying the decal and Mr. Mark Softer is to be used if the wet transfer decals were to cross any uneven surfaces. Please be reminded that I never used wet transfer decal so I have no experience using any of these chemical. I do hope that these chemical works for dry transfer too but it is yet to be discovered.

As for stickers, I don't think anyone need help with this. Just make sure you got a really good lighting and a needle-like instrument to
apply the sticker in place. For me, I use a lecron carver. It is a dental instrument use to carve wax during a denture making process. Don't forget to cut the transparent sides as much as possible and unlike decals, you don't need the 2.0 - 3.0 mm space.

That's all for now. Okuk onak Dayak.